Up until fairly recently, BMW's stock braking systems have been woefully undersized for how heavy and fast their cars are. Front big brake kits (BBKs) are very common on the E36 and E46, rightly so.
This car was upgraded to a Wilwood kit in the past, using the Forged Superlite caliper and stock E46 M3 solid rotors. It was excellent value and led to many happy track days. However, due to a combination of hard use, and the stock braking plumbing getting creaky, it no longer satisfies. It would have been possibly to buy a perfectly good BBK from a long list of suppliers. But why do the easy thing when you can make a ton of extra work for yourself? Therefore, this is an entirely custom system.
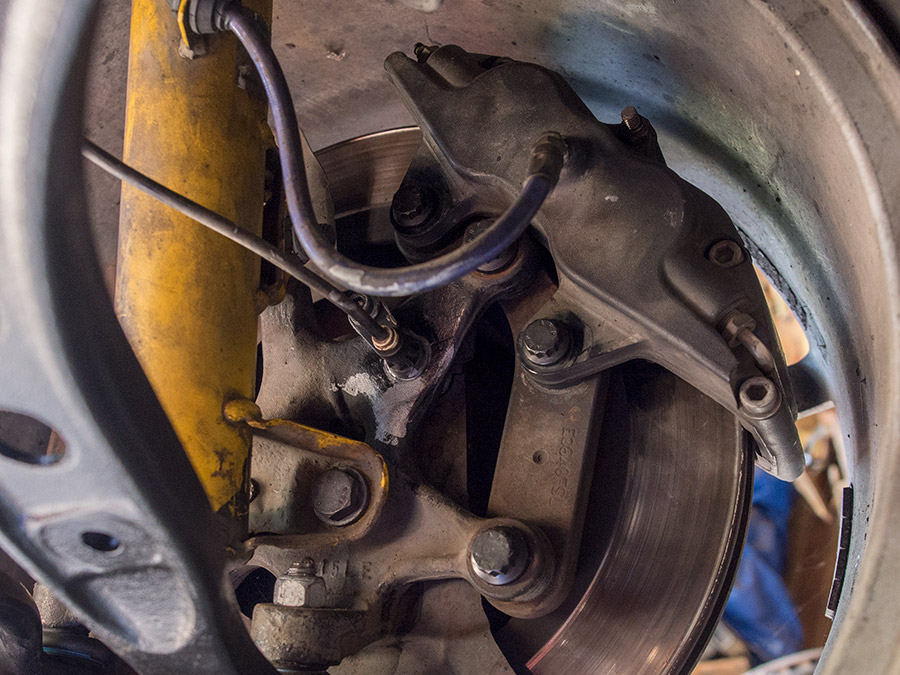
Figure 1
The old Wilwood lug (axial) mount caliper and bracket. It's not elegant, but it does work.
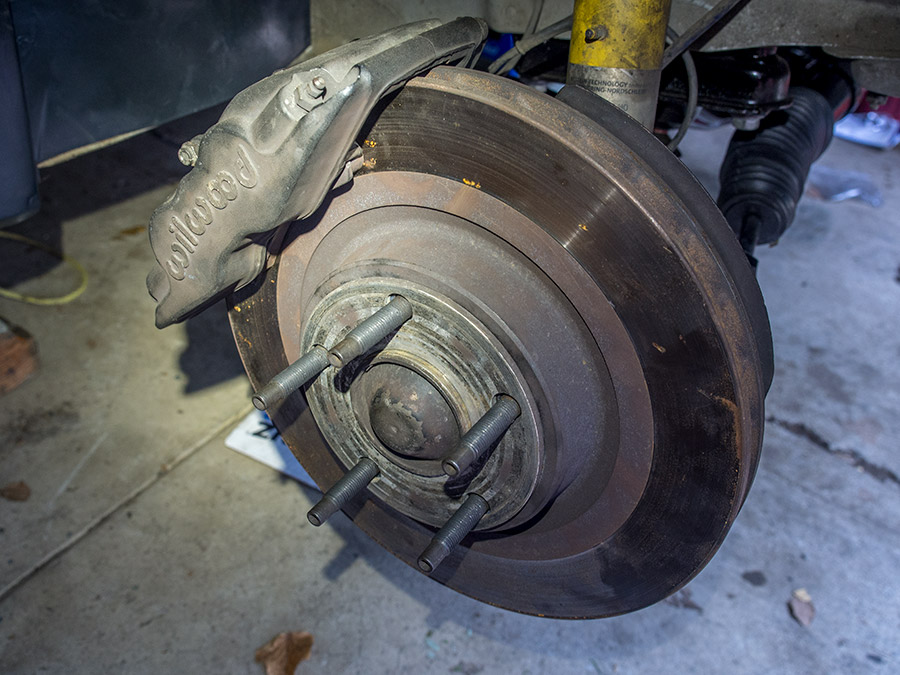
Figure 2
This is the front of the car with the 325x28mm E46 M3 solid rotor.
The Plan
Eliminate everything: hardlines, pedals, master cylinder, brake booster, brackets, calipers, rotors, softlines, ABS pump, vacuum line to the booster. All gone. In their place, new copper/nickel hardlines with -3AN fittings. A pedal box with all new master cylinders and a balance bar. New custom caliper brackets and calipers. Beefier floating rotors.
Before the purchasing stage, the vehicle was weighed and the CoG height was determined. Then all the calculations were done for weight transfer, brake torque, and bias. Also calculations for kinetic energy and rotor thermal mass, to be sure that we had the stopping power we needed. You have to walk the line between too much rotor mass, and not enough. In fast/deep braking zones you can overheat the pad. Or the pad can never operate in its ideal temperature zone. Ultimately race pads have pretty wide ranges where the compound is effective, so getting the balance right is feasible.
Most of the choices for part selection were fairly straightforward. We aren't the first ones to do this. The pedal box and master cylinders would come from Tilton, most plumbing parts from Pegasus Auto Racing, and of course plenty of stuff from Summit Racing. The hard part was what to stick on the knuckles. We considered doing another set of Wilwoods, or sourcing AP Racing calipers. After calling around, Performance Friction (PFC) had a compelling caliper and rotor combination, so we went with them.
Calipers and Rotors
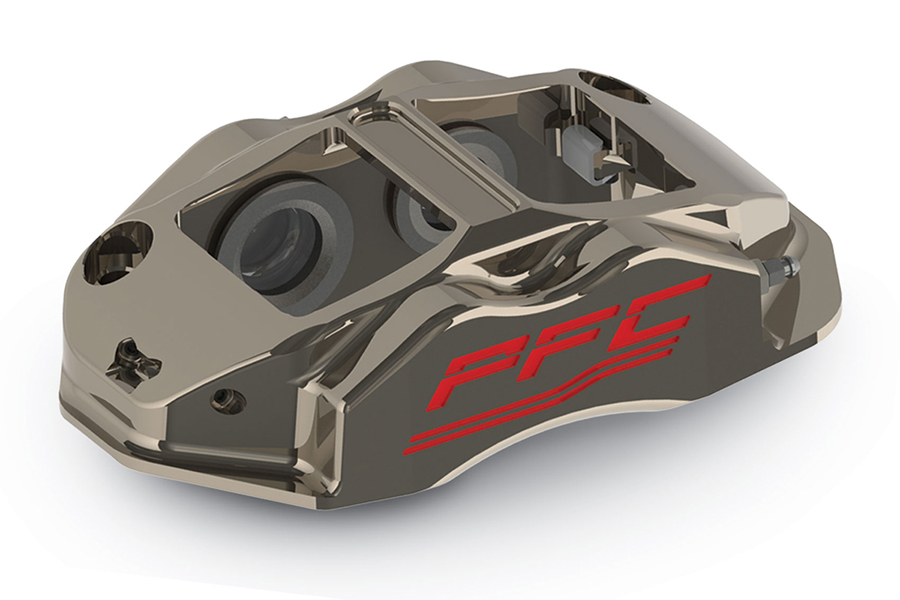
Figure 3
A PFC ZR94 caliper marketing render. Looks a bit like a transformer.
The ZR94 caliper is a good exercise in compromises, coming out ahead most of the time. It is a radial mount caliper, allowing the use of a much lighter and more elegant bracket. A radial mount design makes it easier to remove for pad changes, which is important because the bridge is integrated. It is also a true monobloc with an internal fluid crossover, which means it is more complex to make. The piston bores have to be milled with a special low-profile 90º head and cutter. The caliper also has to be drilled from a few angles to make the crossover, then the crossover entry holes have to be plugged.
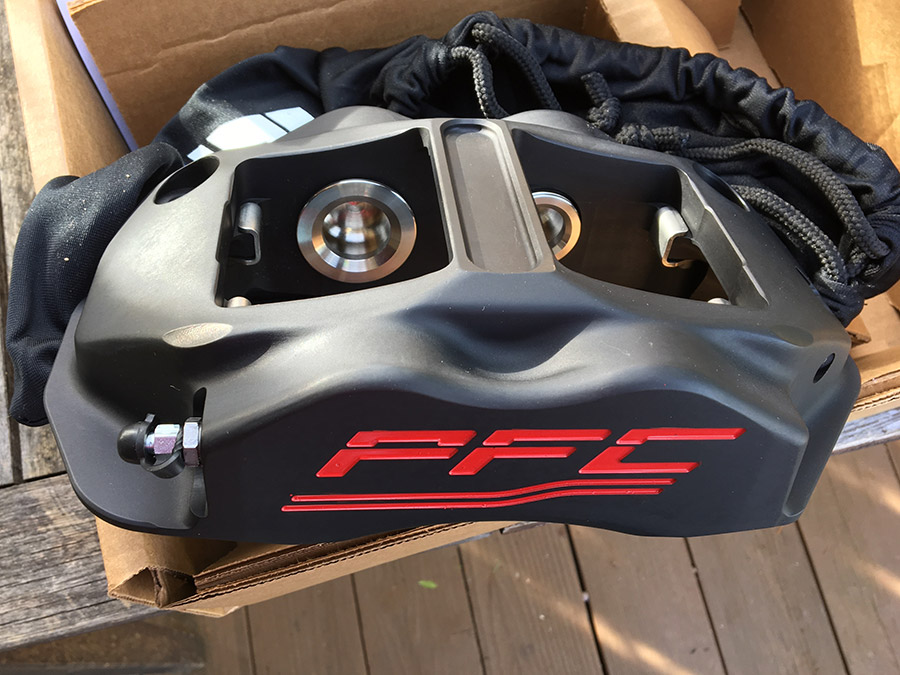
Figure 4
PFC ZR94 caliper, this is a trailing rear. Part number: 94.323.290.365.11A
PFC's 7934 brake pad shape is used, and is available in a number of compounds. We are using the PFC 11 compound to start with. The ZR94 has some nice extra credit features, such as impressions milled on the underside to save weight. You can get it with a nickel finish or a black anodized finish (part number ending in A). Leading or trailing configuration. It is available in a few different piston pairings so you can create front to rear splits as needed. I know that these piston configurations are available because we have them: Leading: 41mm, Trailing: 44mm. Leading: 29mm, Trailing: 36.5mm. Also there is apparently another smaller configuration: Leading: 25.5mm, Trailing: 29mm.
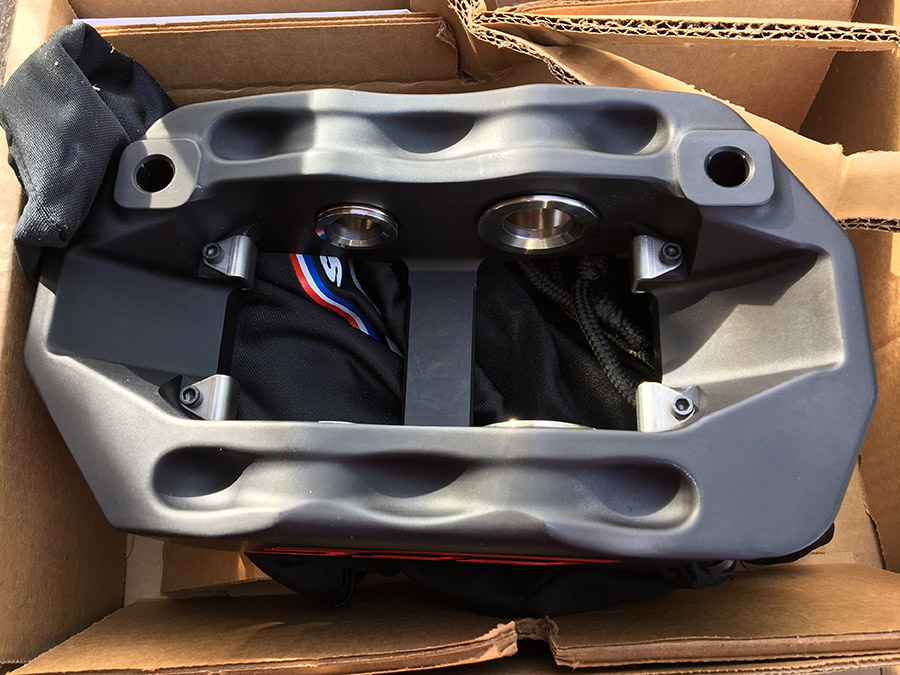
Figure 5
PFC ZR94 caliper, the trailing rear again showing the piston stagger, pad seat inserts, and features. The small piston is 29mm and the large is 36.5mm.
Alongside the calipers, we are installing PFC floating rotors using the Direct Drive V2 design. It's a 323x32mm friction ring, which has substantially greater ability to absorb and dissipate heat than the stock E46 rotors. The same rotor for front and rear, so rears can be moved forward. Or fronts rotated to the rear to level wear. It's the same pad compound and shape on all four corners. We're setting bias using caliper piston sizes, master cylinder sizes, and the balance bar. So braking consumables are all like-for-like swaps. One set of consumables services the whole car.
Brackets
The downside of developing your own parts is that it is much slower and more expensive than buying a product. The upside is you get exactly what you want, and you get to understand how things work in an engineering sense. In this case we had to make custom brackets to adapt from the E36's axial mount to the ZR94 radial mount. The brackets were first prototyped in aluminum for fitment testing. Final versions are machined in titanium for critical bling reasons (don't act like you're not jealous).
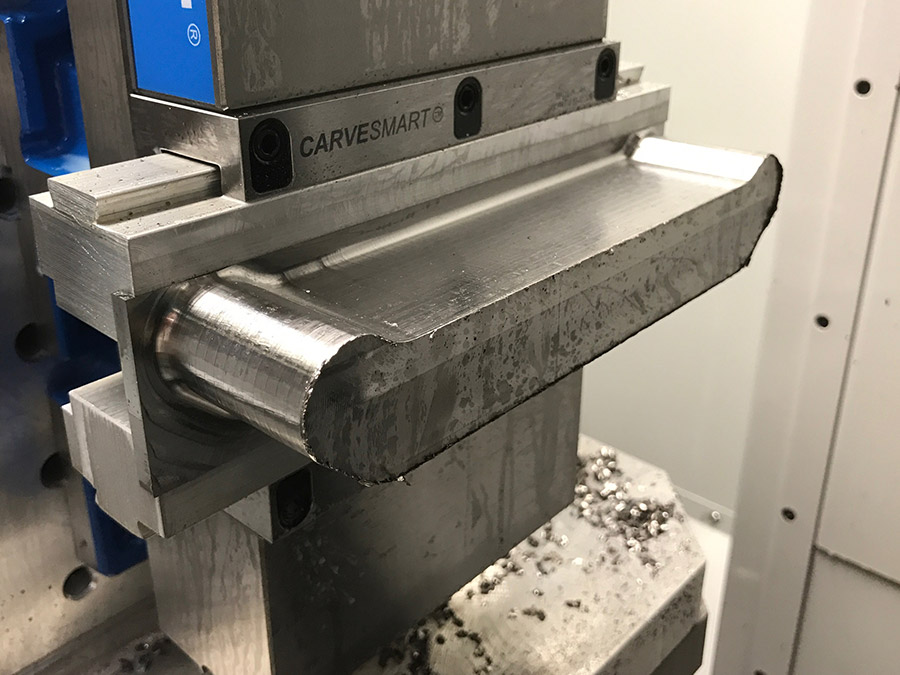
Figure 6
Front caliper bracket, still in machining stages.
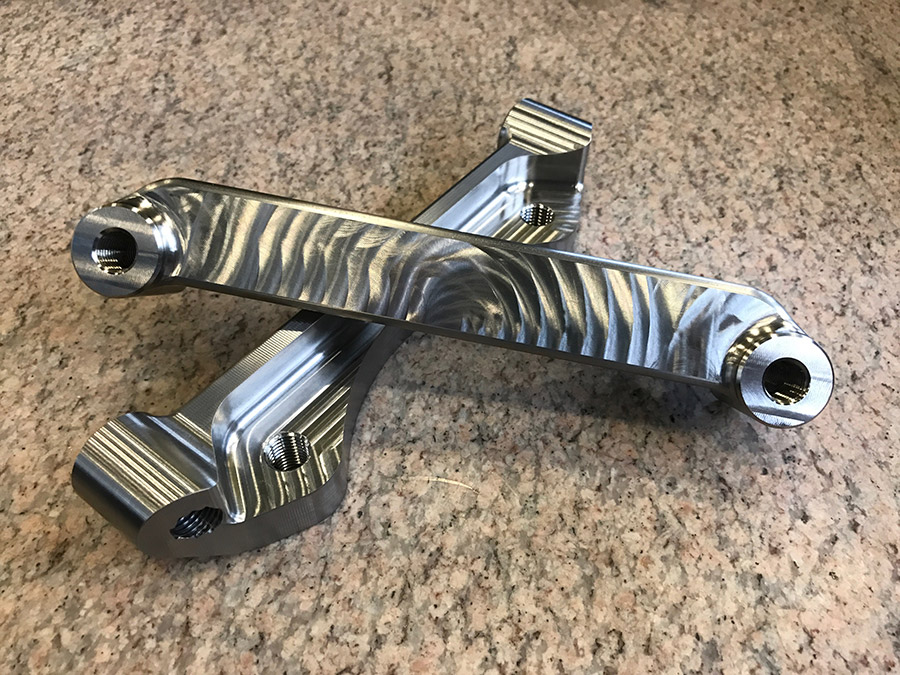
Figure 7
Two complete front caliper brackets. So purdy.
The front caliper brackets are symmetrical and can be used on either side for fewer spares. The rears are offset by a bit and can not be mirrored. The knuckle lug arms fit inside the pocket on the bracket to keep the caliper mount as close to in-plane with the knuckle as possible. Bosses on the bracket that interface with the caliper can be adjusted in height to shift the caliper on the radial axis for alignment.
Studs are used for easy caliper removal and attachment. A specific shoulder size is needed to locate the caliper precisely, therefore the studs also had to be custom machined. They are 17-4 stainless steel with different threads on each end.
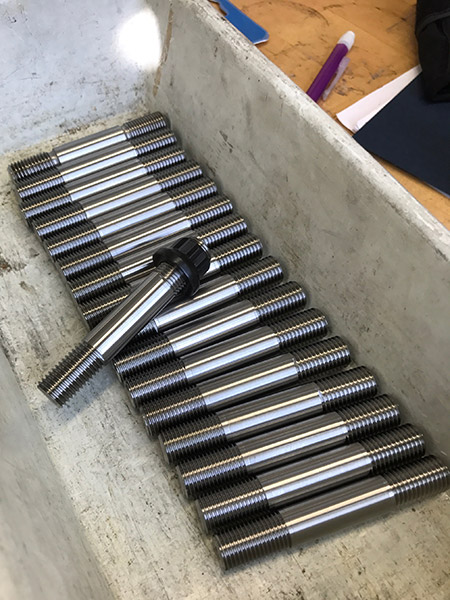
Figure 8
Caliper studs, including a few spares.
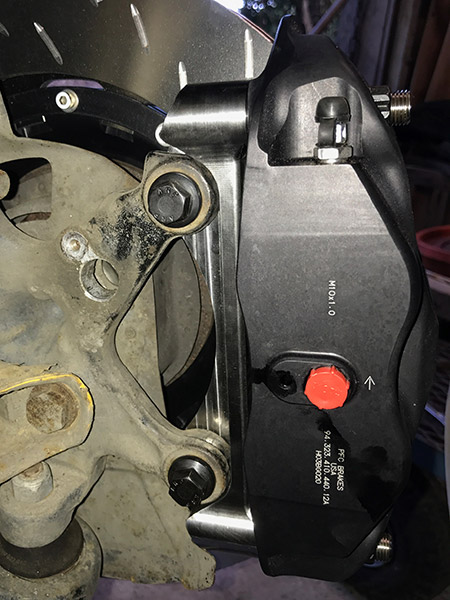
Figure 9
Front bracket installed. The lugs tuck right inside the bracket.
Bolt It Together
After surprisingly little farting around, a whole bunch of bad weather, and bad life choices… everything actually came together looking pretty good.
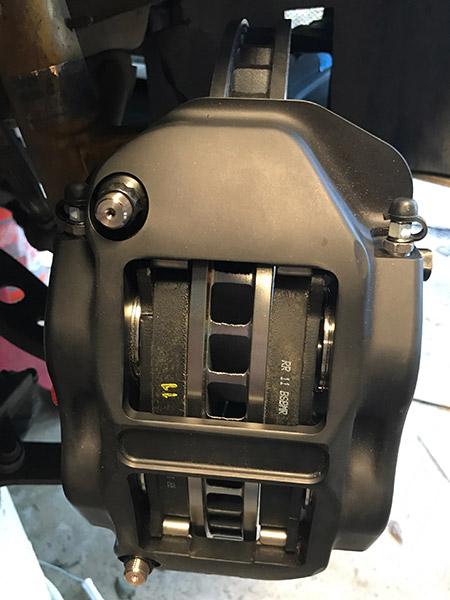
Figure 10
32mm of rotor goodness and 19mm per-side of pad! Note the nice 12-point ARP nuts used to retain the caliper.
Figure 11
Pad and rotor interface is even, plenty of clearance in the throat of the caliper.
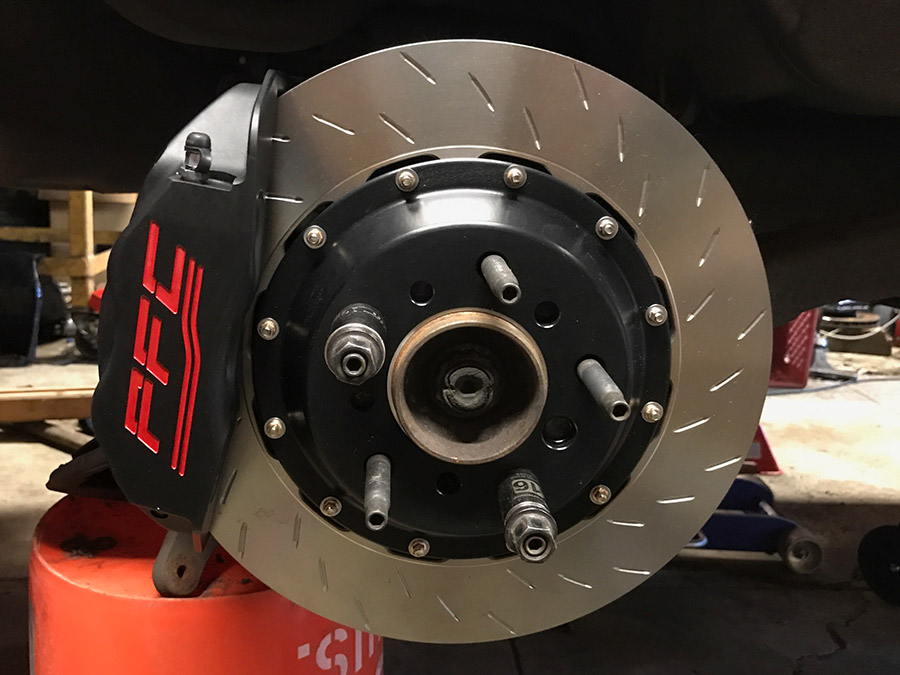
Figure 12
Looks pretty spiffy.
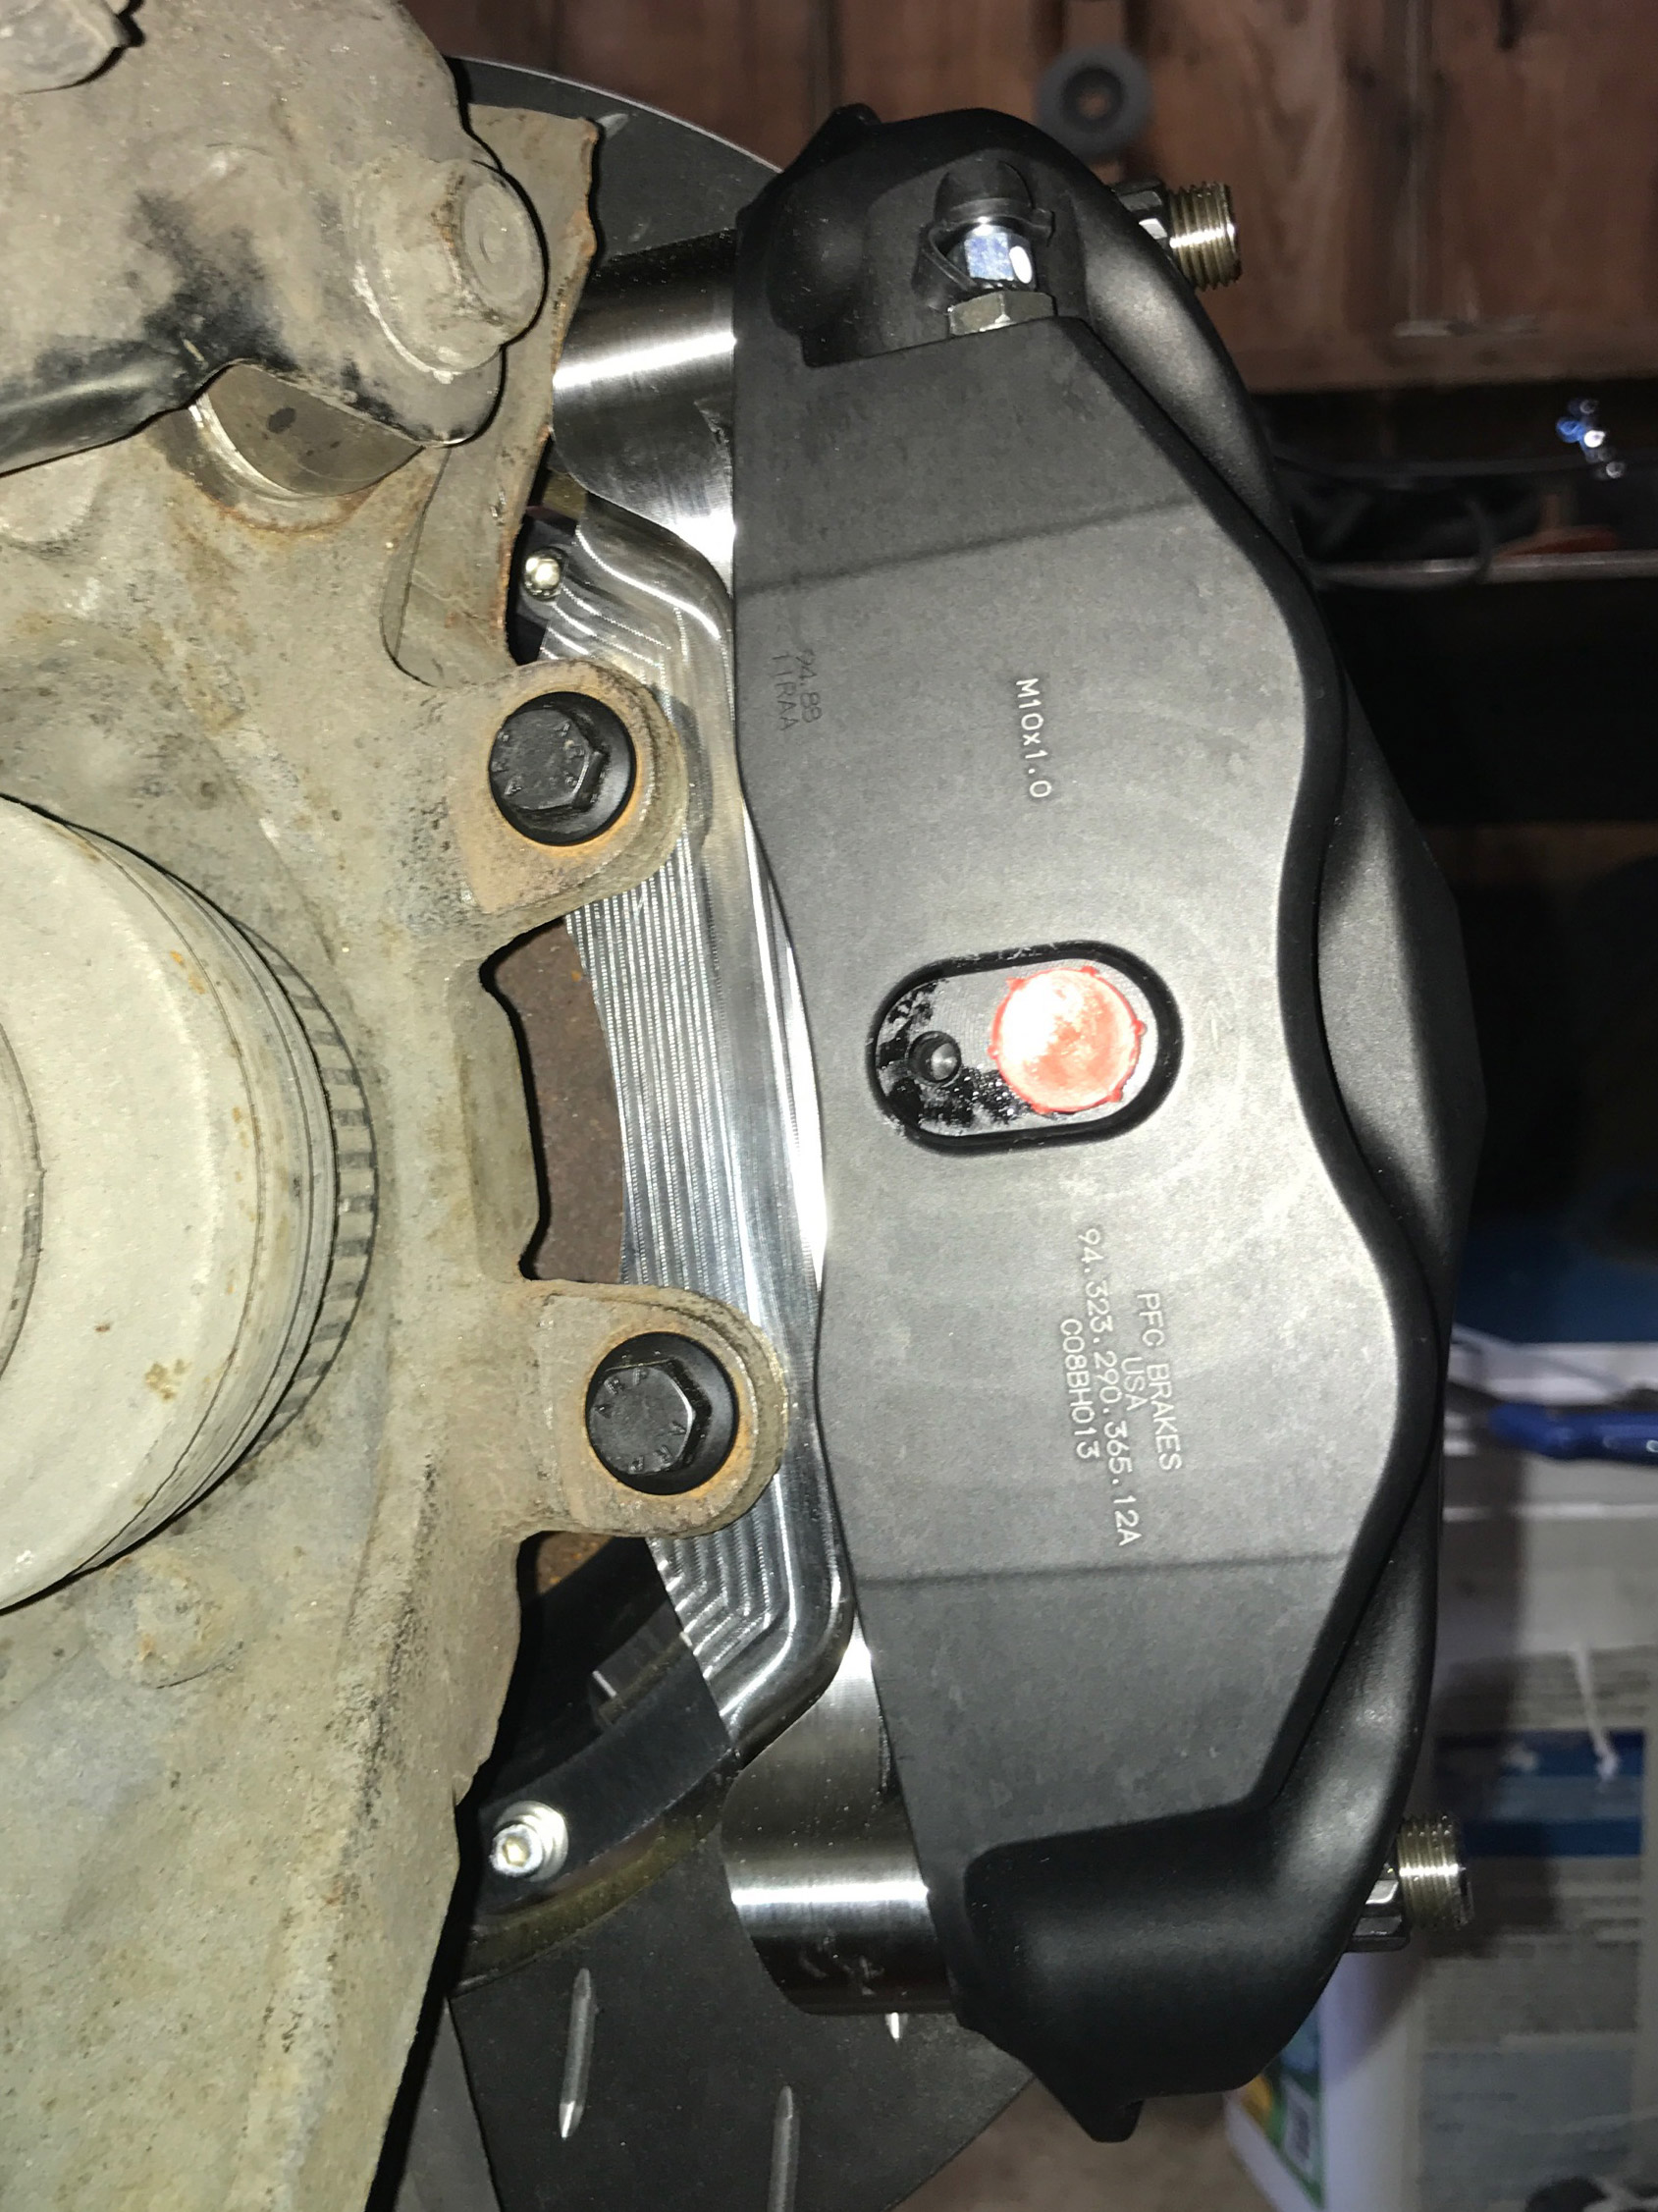
Figure 10
Rear bracket and caliper installed.
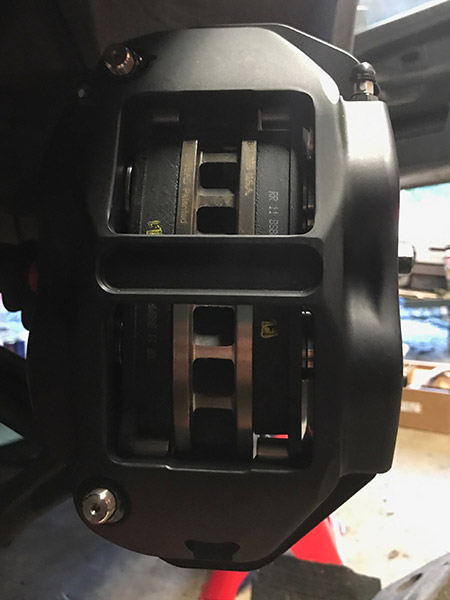
Figure 11
Rear caliper, alignment is good here also.
End of part one.